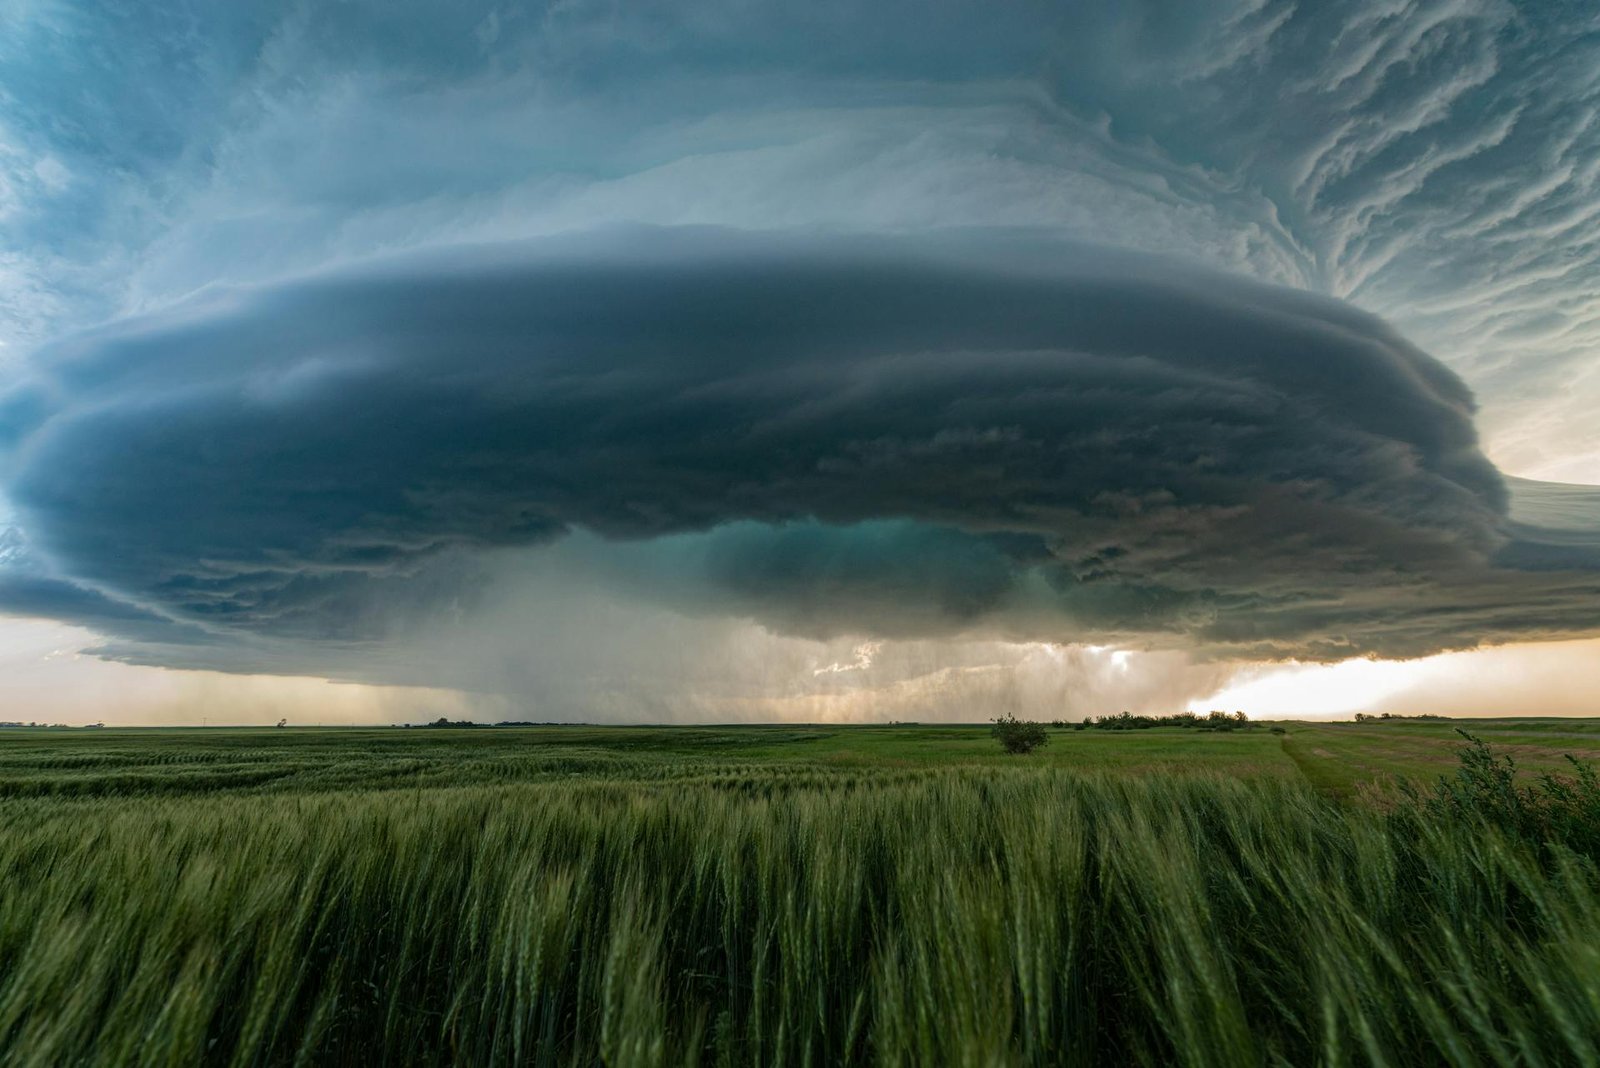
When it comes to storm photography, your camera settings play a critical role in translating what you’re seeing into something that actually feels as dramatic as the moment itself. Unlike calm landscape shooting, storms bring rapidly changing light, unpredictable movement, and extreme contrast, which means your settings need to be both intentional and adaptable.
A good starting point for most storm scenes is to keep your camera in manual mode. This gives you full control over how light is captured, which is especially important when the brightness of the scene can shift dramatically from one moment to the next. Automatic settings tend to struggle in storm conditions, often overexposing bright lightning or underexposing dark cloud structures.
Aperture is one of the first settings to consider. For most storm photography, a mid-range aperture—typically around f/8 to f/11—works well. This range provides a strong balance between sharpness and depth of field, ensuring that both the foreground and the dramatic sky remain in focus. It also helps control the intensity of lightning strikes, preventing them from completely blowing out your image.
Shutter speed is where things start to get more dynamic. If you’re photographing general storm clouds or fast-moving weather, a faster shutter speed—somewhere between 1/125 and 1/500 of a second—can help freeze motion and retain detail in the clouds. However, when your goal is to capture lightning, you’ll need to slow things down significantly. Longer exposures, often in the range of several seconds, allow your camera to “wait” for a lightning strike to occur within the frame.
This is why many storm photographers switch techniques depending on what they’re shooting. For lightning, using a tripod and longer exposures increases your chances of capturing a strike without needing to rely on perfect timing. For fast-moving storm fronts, shorter exposures help preserve texture and structure in the clouds.
ISO should generally be kept as low as possible—typically ISO 100 to 200—especially during daylight or well-lit conditions. A lower ISO reduces noise and preserves image quality, which is important when you’re dealing with subtle gradients in the sky. As light fades, such as during evening storms or near sunset, you can gradually raise your ISO, but it’s usually better to adjust shutter speed first before pushing ISO too high.
Focusing can also become tricky in storm conditions, particularly in low light or heavy rain. Autofocus systems can struggle when contrast is low, so switching to manual focus is often the more reliable option. Setting your focus to infinity works well for distant storm clouds, though it’s worth fine-tuning slightly rather than relying on the absolute infinity mark, as lenses can vary.
White balance is another subtle but important factor. While auto white balance can do a decent job, setting it manually—such as using a cloudy or daylight preset—can help maintain consistent tones across your images. Storm scenes often carry rich blues, deep grays, and dramatic highlights, and consistent white balance helps preserve that mood.
If you’re shooting in RAW format—and you absolutely should be for storm photography—you’ll have much more flexibility to fine-tune exposure, contrast, and color in post-processing. Storm images often benefit from careful adjustments to bring out detail in both shadows and highlights, especially when dealing with high-contrast scenes involving lightning or breaking sunlight.
Ultimately, the best camera settings for storm photography aren’t fixed—they evolve with the conditions in front of you. The key is understanding how each setting influences your image so you can adapt quickly. Storms don’t wait, and neither should your camera.