In the realm of photo editing, the power to transform an ordinary image into a captivating masterpiece lies in the skilled manipulation of brightness and contrast. These two fundamental adjustments can breathe life into dull photos, enhance details, and bring out the true essence of your visuals. In this comprehensive guide, we’ll delve into the art and science of adjusting brightness and contrast in photo editing software, exploring what these adjustments entail, what photographers seek when making them, and how to achieve stellar results.
Understanding Brightness and Contrast:
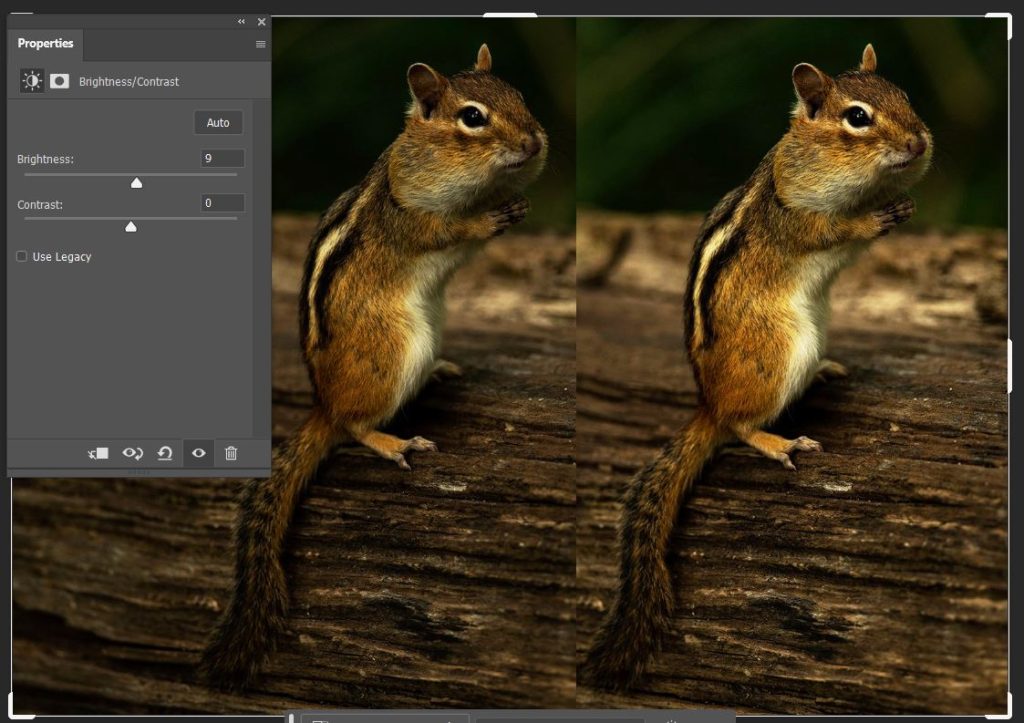
Brightness: Brightness refers to the overall lightness or darkness of an image. Adjusting brightness can make a photo appear more vibrant or subdued, depending on the desired effect. When an image is too dark, increasing brightness brings out details in shadows while decreasing brightness can add drama and depth by intensifying shadows.
Contrast: Contrast, on the other hand, deals with the difference in intensity between the light and dark areas of an image. High contrast results in a bold, dynamic look with distinct shadows and highlights, while low contrast creates a softer, more muted appearance with smoother transitions between tones.
What Photographers Seek:
1. Highlighting Details: One of the primary reasons photographers adjust brightness and contrast is to highlight intricate details in their images. By carefully fine-tuning these parameters, photographers can bring out textures, patterns, and nuances that might be overshadowed in the original photograph.
2. Setting the Mood: Brightness and contrast play a crucial role in establishing the mood of a photo. Whether you want a bright and cheerful atmosphere or a moody and dramatic tone, manipulating these elements allows you to craft the emotional impact you desire.
3. Correcting Exposure Issues: Photographers often encounter exposure challenges, resulting in images that are too bright or too dark. Adjusting brightness helps in rectifying overexposed or underexposed shots, ensuring a well-balanced exposure that showcases the subject optimally.
4. Enhancing Composition: Effective use of brightness and contrast can enhance the composition of an image. By drawing attention to the focal points and creating a visual hierarchy, photographers can guide the viewer’s gaze through the photo, conveying their intended narrative.
Achieving Stellar Results:
1. Start with a Solid Foundation: Before diving into brightness and contrast adjustments, ensure that your photo has a solid foundation. Correct any issues related to exposure, color balance, and composition. This sets the stage for more effective and nuanced adjustments.
2. Non-Destructive Editing: To maintain flexibility and avoid irreversible changes, utilize non-destructive editing techniques. Most photo editing software allows you to create adjustment layers, enabling you to tweak brightness and contrast without altering the original image.
3. Gradual Adjustments: Small, incremental adjustments often yield the best results. Instead of making drastic changes, gradually increase or decrease brightness and contrast until you achieve the desired look. This approach allows for better control and prevents the loss of subtle details.
4. Utilize Histograms: Histograms provide a visual representation of the distribution of tones in an image. Use the histogram in your photo editing software to identify areas of underexposure or overexposure. Adjusting brightness and contrast based on the histogram helps maintain a balanced tonal range.
5. Pay Attention to Highlights and Shadows: Consider the impact of your adjustments on highlights and shadows. Be mindful not to blow out highlights or crush shadows, as this can result in loss of detail. Striking the right balance ensures a well-structured image with depth and dimension.
6. Experiment with Curves: For more advanced control, experiment with curves adjustments. Curves allow you to target specific tonal ranges and make precise modifications to brightness and contrast. This level of control is invaluable for fine-tuning images and achieving a polished, professional look.
7. Monitor Color Balance: Changes in brightness and contrast can affect the perceived color balance of an image. Regularly check and adjust the color balance to ensure that your photo maintains a natural and visually pleasing appearance.
Mastering the art of adjusting brightness and contrast is a journey that every photographer and aspiring photo editor must embark on. These fundamental adjustments are the building blocks of impactful visual storytelling, allowing you to breathe life into your images and convey emotions with precision. Whether you’re a seasoned professional or a novice exploring the world of photo editing, understanding the nuances of brightness and contrast adjustments will undoubtedly elevate your creative endeavors. Embrace the power of these tools, experiment with finesse, and witness your photos transform into captivating works of art.