What Is Shutter Speed?
Shutter speed refers to how long your camera’s sensor is exposed to light when you take a photograph. It’s typically measured in fractions of a second, such as 1/1000, 1/250, or 1/60, though it can also extend into full seconds for longer exposures. This single setting plays a dual role in photography, influencing both the brightness of your image and the way motion is captured.
When the shutter opens and closes quickly, it captures only a brief instant in time. When it remains open longer, it records everything that happens during that period. That difference is what allows you to either freeze motion or intentionally blur it.
Why Shutter Speed Matters
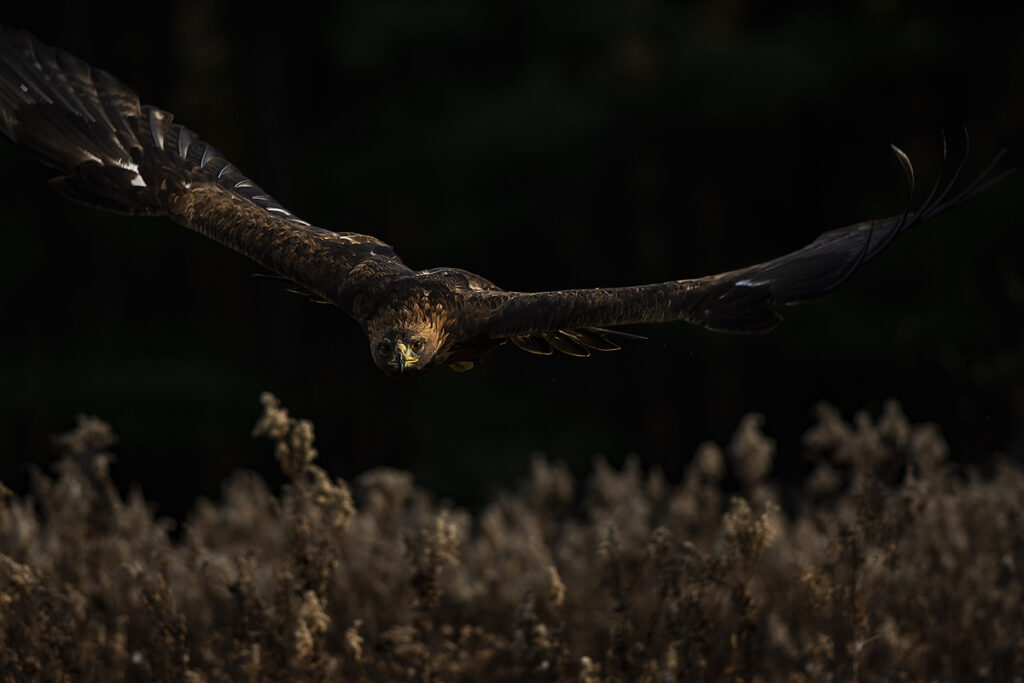
Shutter speed is one of the most powerful creative tools available to you because it controls how movement appears in your images. A fast shutter speed allows you to freeze action, making it ideal for photographing sports, wildlife, or any subject in motion. Every detail is preserved sharply, even in fast-moving scenes.
On the other hand, a slower shutter speed introduces motion blur, which can add a sense of movement and atmosphere to your images. Flowing water can appear smooth and silky, while city lights can stretch into long, dynamic streaks. Rather than being a flaw, motion blur becomes a creative choice.
At the same time, shutter speed directly affects exposure. A longer shutter allows more light to reach the sensor, brightening the image, while a faster shutter reduces the amount of light captured.
Choosing the Right Shutter Speed
Selecting the right shutter speed begins with understanding your subject. If your subject is moving quickly, you’ll need a faster shutter speed to keep it sharp. If your subject is still, you have more flexibility and can use slower shutter speeds without introducing unwanted blur.
It’s also important to consider your own movement. Even if your subject is stationary, slight hand movement can cause blur at slower shutter speeds. As a general guideline, many photographers try to stay at or above 1/60 when shooting handheld, though this can vary depending on your lens and stability.
Lighting conditions also play a role. In bright environments, faster shutter speeds are easy to use because there is plenty of light available. In low-light situations, you may need to slow your shutter speed to allow more light in, balancing this with your aperture and ISO settings.
Shutter Speed and the Exposure Triangle
Shutter speed does not exist in isolation. It works alongside aperture and ISO as part of the exposure triangle, and changing one setting will often require adjustments to the others.
For example, if you increase your shutter speed to freeze motion, you are reducing the amount of light entering the camera. To maintain proper exposure, you may need to open your aperture wider or raise your ISO. If you slow your shutter speed, you may need to do the opposite to avoid overexposing the image.
Understanding this relationship allows you to make deliberate choices rather than relying on your camera to decide for you.
 Developing a Feel for Motion
As you gain experience, shutter speed becomes less about numbers and more about how you want a scene to feel. You begin to anticipate movement and choose settings that match your vision. A fast shutter might capture a decisive moment with clarity, while a slower one might emphasize motion and energy.
This awareness transforms shutter speed from a technical setting into a creative decision. Instead of asking what setting is “correct,” you begin asking what effect you want to achieve.
Learning Through Practice
The best way to understand shutter speed is to experiment with it directly. Photograph the same subject using different shutter speeds and observe how the results change. Notice how motion becomes sharper or more blurred, and how brightness is affected at the same time.
Over time, these adjustments become second nature. You’ll start to recognize the right settings instinctively, allowing you to react quickly and confidently in any situation.
Capturing Time With Intention
Shutter speed is ultimately about how you choose to represent time in your images. Whether you freeze a fleeting moment or allow motion to unfold within the frame, you are shaping the viewer’s experience.
Once you begin thinking in these terms, your photography takes on a new level of intention—one where every image reflects not just what you saw, but how you chose to capture it.
Once you’re comfortable controlling motion, the next step is understanding how aperture shapes focus and depth in your photos.