A Guide to Perfect Exposure in Photography
Mastering the Exposure Triangle: A Guide to Perfect Exposure in Photography
Achieving the perfect exposure is one of the most essential photography skills, and mastering the exposure triangle is the key to making it happen. The exposure triangle consists of three core settings—aperture, shutter speed, and ISO—that work together to control the brightness and quality of an image. Each element has its unique effect on exposure and the final look of a photo, and understanding how they interact is crucial for adjusting to any lighting or shooting situation. Here’s an in-depth look at each setting, its effect on an image, and examples of when to use various adjustments.
Aperture refers to the opening of a lens diaphragm through which light enters. It’s measured in f-stops (e.g., f/2.8, f/5.6, f/16), where a lower f-stop number (e.g., f/2.8) indicates a wider aperture that allows more light in, while a higher f-stop number (e.g., f/16) represents a narrower aperture that lets in less light. Aperture not only controls light but also influences depth of field—the amount of your image that remains in sharp focus.
Examples:
- Wide Aperture (e.g., f/2.8): Ideal for portraits or low-light situations where you want to isolate the subject and achieve a shallow depth of field. This setting blurs the background while keeping the subject in focus.
- Narrow Aperture (e.g., f/16): Suited for landscape photography or scenes where you want sharp focus across the entire frame. A smaller aperture lets in less light, making it a good choice for brightly lit conditions or when using a slower shutter speed.
Shutter speed refers to how long your camera’s shutter remains open to expose the sensor to light. It’s measured in fractions of a second (e.g., 1/500s, 1/30s) or in seconds for longer exposures. Fast shutter speeds freeze motion, while slow shutter speeds capture motion blur, each offering unique creative possibilities.
Examples:
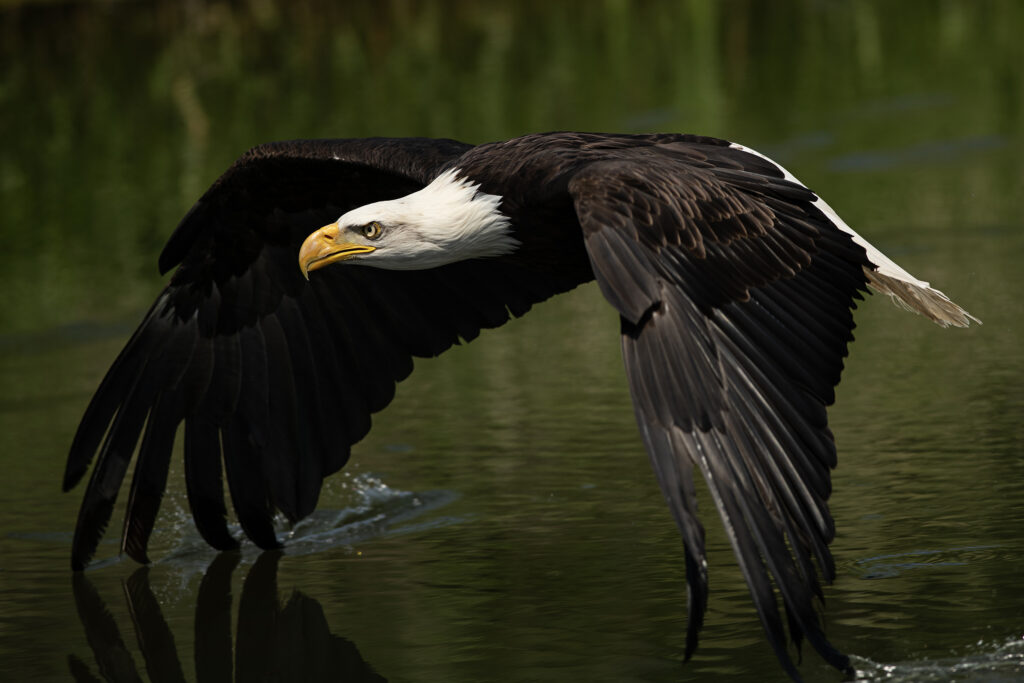
- Fast Shutter Speed (e.g., 1/1000s): Essential for action photography, such as capturing sports, wildlife, or any fast-moving subjects. A fast shutter freezes motion, ensuring sharp images.
- Slow Shutter Speed (e.g., 1/15s or 1s): Useful in low-light settings or when you want to add a sense of movement, such as in night photography or to capture the flow of water in landscapes. A tripod is recommended for these shots to avoid camera shake.
ISO is a measure of your camera sensor’s sensitivity to light. Low ISO settings (e.g., ISO 100) make the sensor less sensitive, producing cleaner images with less noise, while high ISO settings (e.g., ISO 1600, 3200) increase sensitivity but also introduce digital noise.
Examples:
- Low ISO (e.g., ISO 100): Ideal for bright daylight situations or when you’re using a tripod and want the highest image quality with minimal noise. This setting is commonly used in landscape or studio photography where lighting is controlled.
- Medium ISO (e.g., ISO 400-800): Helpful in moderate lighting situations, such as indoor photography or cloudy outdoor conditions. It balances sensitivity with a relatively low level of noise.
- High ISO (e.g., ISO 1600 or above): Suitable for low-light scenarios, such as nighttime or indoor events where you can’t use a flash. However, be mindful of noise levels, as higher ISO can degrade image quality.
Balancing the Exposure Triangle: Putting It All Together
The beauty of the exposure triangle lies in the ability to adjust one setting to compensate for changes in another, helping you achieve the correct exposure. Here’s how they interact:
- If you increase the aperture (e.g., from f/8 to f/2.8) to let in more light, you may need to increase shutter speed or lower ISO to avoid overexposing the image.
- If you slow down the shutter speed (e.g., from 1/500s to 1/30s) to allow more light, you might need to narrow the aperture or lower ISO to maintain balance.
- If you raise the ISO (e.g., from ISO 200 to ISO 1600) for a dark environment, consider using a faster shutter speed or wider aperture to keep exposure under control without introducing too much noise.
Practical Examples of Balancing Settings
- Bright Daylight Portraits: Use a wide aperture (f/2.8) for shallow depth of field, paired with a low ISO (100) and fast shutter speed (1/1000s) to maintain exposure without overexposing.
- Action Shots in Cloudy Weather: Set a fast shutter speed (1/1000s) to freeze motion, adjust to a medium ISO (400) to capture enough light, and use a moderate aperture (f/5.6).
- Low-Light Landscapes: Choose a narrow aperture (f/16) for sharpness across the frame, combined with a slow shutter speed (1-5 seconds) to let in more light, and a low ISO (100) to reduce noise.
Mastering the exposure triangle gives you creative control over your images, letting you adjust to different lighting conditions, freeze action, or capture smooth motion. Experiment with different combinations to see how each setting influences your final image, and with time, you’ll intuitively understand how to balance the exposure triangle for any photography scenario.
