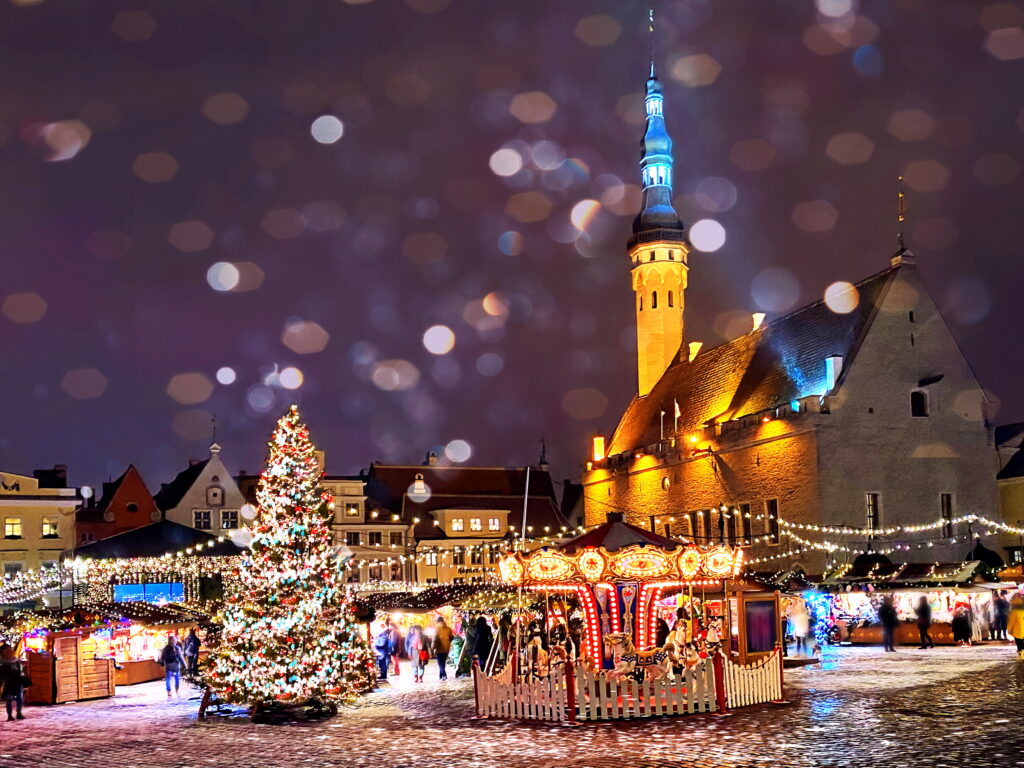
Christmas light displays are a magical subject for photography, but they can be tricky to capture. For beginners, the combination of bright lights and low-light environments requires a good understanding of camera settings and equipment. In this guide, you’ll learn how to photograph Christmas lights like a pro, from choosing the right gear to mastering key settings.
Essential Equipment for Christmas Light Photography
- Camera: A DSLR or mirrorless camera offers the flexibility and manual control you’ll need. While smartphones can work in a pinch, dedicated cameras provide superior quality.
- Lenses:
- Wide-Angle Lenses: Great for capturing expansive light displays and creating a sense of scale.
- Telephoto Lenses: Ideal for isolating details or compressing the perspective of lights in the distance.
- Tripod: A sturdy tripod is essential for long-exposure shots to avoid camera shake.
- Remote Shutter Release: Reduces vibrations when triggering the shutter. If unavailable, use your camera’s self-timer.
- Optional Accessories:
- A lens hood to reduce glare from surrounding lights.
- A spare battery, as long exposures can drain power quickly.
Understanding Camera Settings for Christmas Lights
Shutter Speed
- Start with a shutter speed of 1–5 seconds.
- Adjust depending on the amount of light in the scene and your creative goal. Longer exposures can create light trails or amplify reflections.
Aperture (f/Stop)
- Begin with an aperture of f/8 to f/16. A smaller aperture (higher f-number) increases depth of field and ensures sharpness in the scene.
- If you want to create bokeh (those beautiful light orbs), open up to f/2.8 to f/4.
ISO
- Keep the ISO as low as possible (start with ISO 100 or ISO 200) to avoid noise.
- Increase the ISO slightly (to ISO 800 or 1600) if the scene is too dark, but balance it to avoid graininess.
Techniques for Stunning Christmas Light Photos
- Compose Thoughtfully
- Use leading lines like light strings or pathways to guide the viewer’s eye.
- Include silhouettes or reflections in puddles for added interest.
- Balance the Exposure
- Use exposure compensation if the lights are too bright. Dial down the exposure by 1–2 stops for richer colors.
- Bracketing (taking multiple shots at different exposures) is useful for blending photos in post-processing.
- Experiment with Focus
- For tack-sharp scenes, manually focus using live view.
- To create dreamy bokeh, focus on a close object while leaving the lights blurred in the background.
- Shoot During Blue Hour
- The time just after sunset provides a perfect balance of ambient light and glowing Christmas lights.
- Use RAW Format
- Shooting in RAW allows greater flexibility in post-processing, helping you recover highlights and shadows.
Creative Ideas for Christmas Light Photography
- Bokeh Effects: Use a telephoto lens and a wide aperture to isolate lights as beautiful orbs of color.
- Light Trails: Incorporate moving elements like cars or people with long exposures for dynamic photos.
- Zoom Burst Effect: During a long exposure, zoom your lens in or out to create streaks of light radiating from the center.
- Reflections: Look for reflective surfaces like windows, puddles, or ornaments to double the magic.
Photographing Christmas light displays is a rewarding way to celebrate the season’s beauty. By understanding the interplay of camera settings, equipment, and creative techniques, you can capture stunning festive scenes that will impress your friends and family. So, grab your camera, head out into the night, and let your creativity shine!