What Is Exposure in Photography?
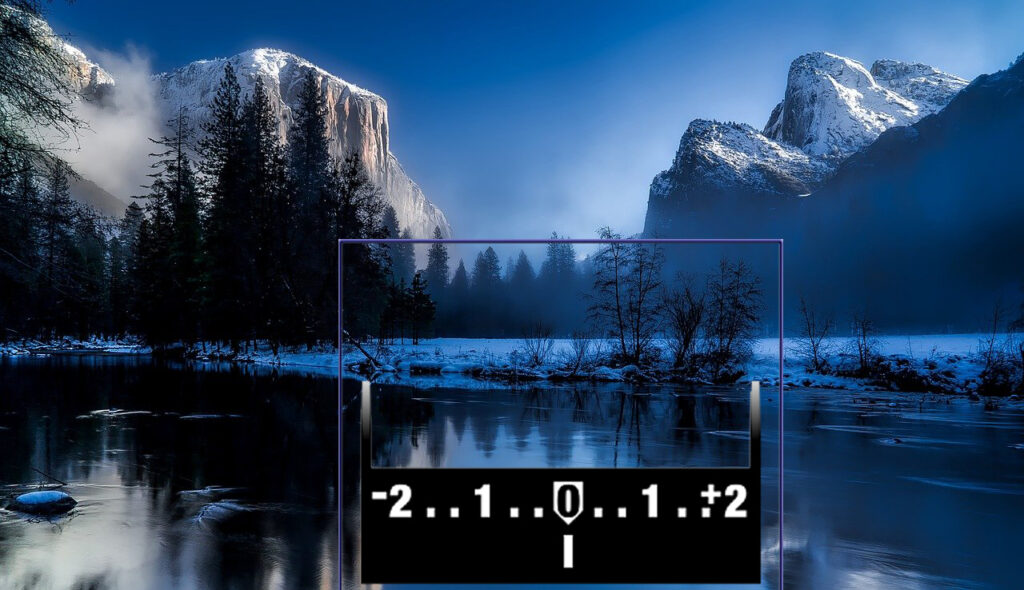
Exposure is simply how light or dark your photo appears. At its core, it’s determined by how much light reaches your camera’s sensor when you take a picture. When too much light enters the camera, your image becomes overexposed and looks washed out, often losing detail in the brightest areas. When too little light is captured, the image becomes underexposed, leaving it dark and lacking clarity.
Learning to control exposure is one of the most important steps in becoming a confident photographer. Once you understand it, everything else—from composition to creativity—becomes much easier to manage.
Understanding the Exposure Triangle
Every photograph you take is influenced by three key settings: aperture, shutter speed, and ISO. Together, these form what photographers call the exposure triangle. Each one controls a different aspect of how light is captured, and they all work together to produce a properly exposed image.
Aperture determines how much light enters through the lens. Shutter speed controls how long that light is allowed to reach the sensor. ISO adjusts how sensitive your camera is to the light that’s available. When you change one of these settings, it usually requires a compensating adjustment in one or both of the others to maintain the same overall exposure.
Rather than thinking of them as separate controls, it helps to think of them as a balancing system. Every adjustment you make affects the final result.
Aperture: Controlling Light and Focus
Aperture refers to the opening inside your lens, and it plays a major role in both exposure and focus. A wider aperture allows more light to enter the camera, which brightens your image. At the same time, it creates a shallow depth of field, meaning your subject will be sharp while the background becomes softly blurred.
On the other hand, a narrower aperture reduces the amount of light entering the lens but increases the depth of field. This keeps more of your scene in focus from front to back, which is often ideal for landscapes or detailed scenes.
Because aperture affects both brightness and focus, it’s often one of the first creative decisions you’ll make when setting up a shot.
Shutter Speed: Controlling Time and Motion
Shutter speed determines how long your camera’s sensor is exposed to light. A fast shutter speed captures a very brief moment in time, freezing motion and keeping moving subjects sharp. This is especially useful when photographing sports, wildlife, or any fast-moving scene.
A slower shutter speed keeps the shutter open longer, allowing more light to enter the camera. This can be helpful in low-light situations, but it also introduces motion blur. Rather than being a problem, this blur can be used creatively to show movement, such as the smooth flow of water or the streaks of car lights at night.
In this way, shutter speed doesn’t just control exposure—it also shapes how motion is represented in your image.
ISO: Balancing Brightness and Image Quality
ISO controls how sensitive your camera is to light. A lower ISO setting results in a darker image but produces the cleanest possible quality, with minimal grain or noise. A higher ISO brightens the image, making it easier to shoot in low-light conditions, but it can also introduce visible noise that reduces image clarity.
Because of this trade-off, ISO is often used as a supporting adjustment rather than a primary one. Photographers typically aim to keep ISO as low as possible while still achieving the exposure they need.
Understanding how ISO affects both brightness and quality helps you make better decisions, especially in challenging lighting conditions.
How It All Works Together
The key to mastering exposure is understanding how these three settings interact. You can achieve the same overall brightness using different combinations of aperture, shutter speed, and ISO, but each combination will produce a different visual result.
For example, you might choose a wide aperture to create a blurred background, which allows more light into the camera. To maintain proper exposure, you could then use a faster shutter speed to reduce the amount of light hitting the sensor. Alternatively, you might lower your ISO to balance things out.
These decisions aren’t just technical—they’re creative. Each adjustment changes the look and feel of your photo, giving you control over how your final image appears.
A Simple Way to Think About Exposure
A helpful way to visualize exposure is to imagine filling a container with water. Aperture is the size of the opening, shutter speed is how long the water flows, and ISO determines how sensitive the container is to being filled. Different combinations can lead to the same result, but the method you choose affects the outcome in subtle ways.
This analogy isn’t perfect, but it captures the idea that exposure is about balance and control rather than a single “correct” setting.
Getting Started With Real-World Settings
When you begin putting this into practice, it helps to start with simple scenarios. In bright daylight, a low ISO combined with a moderate aperture and an adjusted shutter speed will usually give you a clean, well-exposed image. Indoors or in low light, you may need to open your aperture wider and increase your ISO while carefully managing shutter speed to avoid blur.
As you gain experience, these adjustments become more intuitive. What feels complicated at first gradually turns into a natural part of your shooting process.
Seeing Light Differently
Exposure doesn’t need to feel technical or overwhelming. Once you understand how aperture, shutter speed, and ISO work together, you begin to see light differently. Instead of relying on your camera to make decisions, you start making them yourself with intention.
Over time, this awareness becomes instinctive. You’ll look at a scene and already have a sense of the settings you need before you even raise the camera.
That’s the moment when exposure truly becomes simple—not because it is basic, but because you understand it.
Now that you understand how exposure works, the next step is learning how shutter speed affects motion and timing in your images.