So we’ve discussed how light enters the camera through the aperture and how we can manage the time this light is allowed to reach the recording surface, the shutter speed, and their various effects. We also know that somewhere in the camera is a light meter (consult your owner’s manual) that tells you whether or not you have the right settings on these two controls according to the sensitivity of the recording surface, ISO. This article is on choosing your ISO. For the most part, choosing the proper ISO setting for your photographic conditions isn’t too difficult. Remembering our standard ISO table of sensitivities, 100 ISO, 200 ISO, 400 ISO, 800 ISO, 1600 ISO, 3200 ISO, and 6400 ISO and that these have a difference of one-stop between them is the hardest part of all this.

The lower the ISO, the less sensitive the setting is to light. Therefore, 100 ISO isn’t very sensitive to light and is best used in situations with a lot of light. Good examples are sunlit beaches or skiing on very sunny days in the mountains. This will allow the photographer to use a good combination of shutter speed and apertures to create a few different effects and still have proper exposure.
The lower ISO settings also help to reduce in-camera noise or pixelation which is the size of the pixels in the photographs, or grain for film users. The lower the ISO setting, the smaller the pixels, the higher the ISO setting, the larger the pixels. This can become quite visible in photographs as they get enlarged.
In lower light conditions, usually a cloudy day, you may want to change to 400 ISO to allow shutter speed and aperture combinations that will still allow you to handhold the camera. Remember to pay attention to your shutter speeds and aperture combinations and remember various effects. Photojournalists used to use 400 ISO quite regularly allowing them to use quite a range of shutter speed and aperture combinations then go inside and use their camera, with a touch of flash, and still pick up some of the natural light around the main subject so you don’t get a bright subject and black background. Basically, 400 ISO was very versatile in the film cameras and with modern digital camera’s you can now set both, 100 ISO outside (on a bright day or 400 ISO on a cloudy day) then go inside and set 400 ISO. Most people can go through their entire photographic life only using up to 400 ISO.
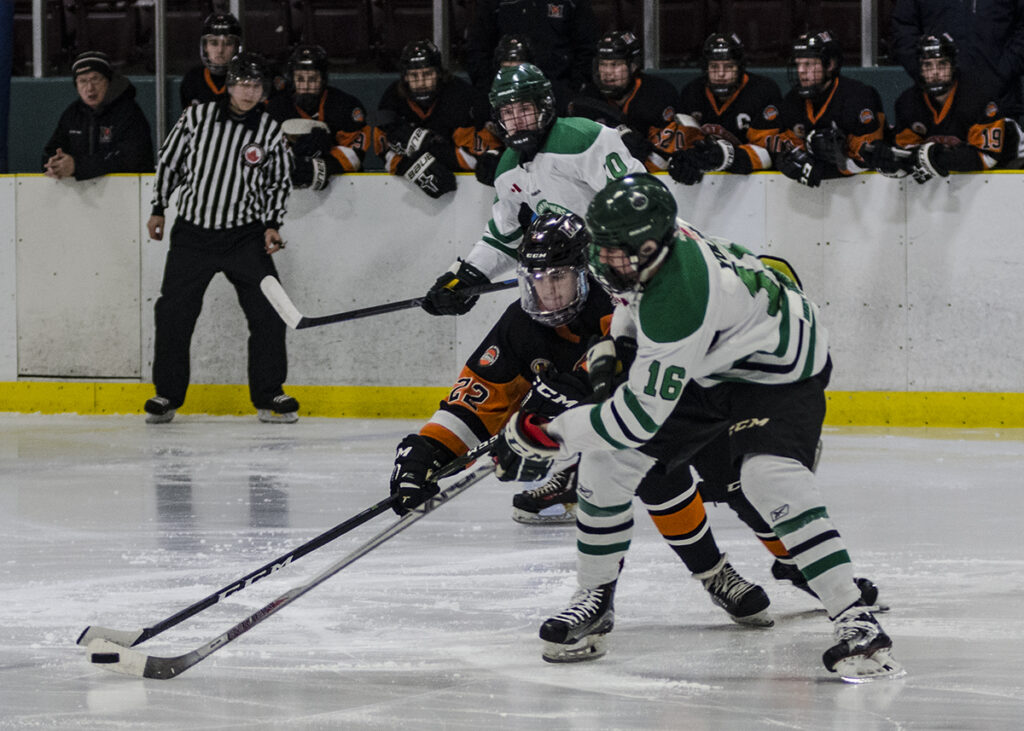
So, why the higher ISO ratings? Well, basically, you are in a low light situation and you need to have a working shutter speed/aperture combination to get a photo. The best example is the hockey arena. With 400 ISO, you get a shutter speed/aperture combination of 1/125sec. at f/2.8. It’s some fast-moving action (not novice hockey) and you know that you want to work at 1/500sec. to freeze the action. If you just set this without changing the ISO, you will get an underexposed photo. To get to 1/500sec. at f/2.8, you have to make an adjustment in the shutter speed by the amount of two stops. Remember our standard shutter speed scale, goes from 1/125sec. to 1/250sec. to 1/500sec. A move of two stops or steps. In order to have a proper exposure, you have to adjust the recording surface sensitivity by two steps as well. You are currently at 400 ISO, adjust one step to 800 ISO, then one more step to 1600 ISO. That will allow you to work at 1/500sec. at f/2.8. Sometimes, you may have to adjust the ISO to 3200 just to get an image, a school play for example. These are times when you can’t use flash and you want to get the photo. Remember though, the higher ISO settings have more noise and pixelization, more grain. You will sacrifice something, but, you get the picture.
Next