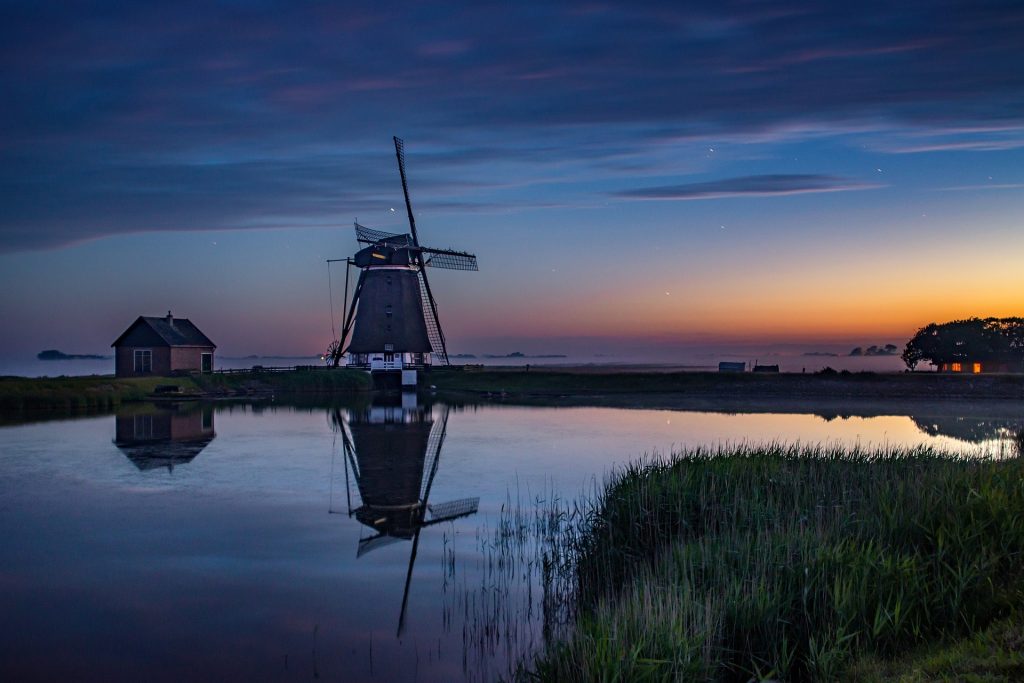
Learning to take photos in low-light conditions can be done with the help of these five tips for mastering low-light photography:
- Use a Tripod: A steady camera is essential for capturing sharp images in low light. A tripod will help you keep your camera steady and prevent blur from camera shake.
- Use a Wide Aperture: A wide aperture (low f-stop number) allows more light into the camera. This is particularly important in low-light situations when there is less light to work with.
- Increase ISO: ISO controls the sensitivity of your camera’s sensor to light. In low-light situations, you may need to increase your ISO to a higher number to compensate for the lack of light. However, be aware that increasing the ISO also increases the amount of noise in your image.
- Use a Shutter Release Cable or Remote: Pressing the shutter button on your camera can cause camera shake, which can result in blur in your images. A shutter release cable or remote allows you to take a picture without physically touching the camera.
- Experiment with Different Shutter Speeds: Shutter speed controls the amount of time that the camera’s sensor is exposed to light. In low-light situations, you may need to use a slower shutter speed to allow more light into the camera. However, be aware that using a slow shutter speed can also result in blur if the camera or subject moves during the exposure.
By following these tips, you’ll be well on your way to mastering low-light photography. Remember to experiment and have fun!