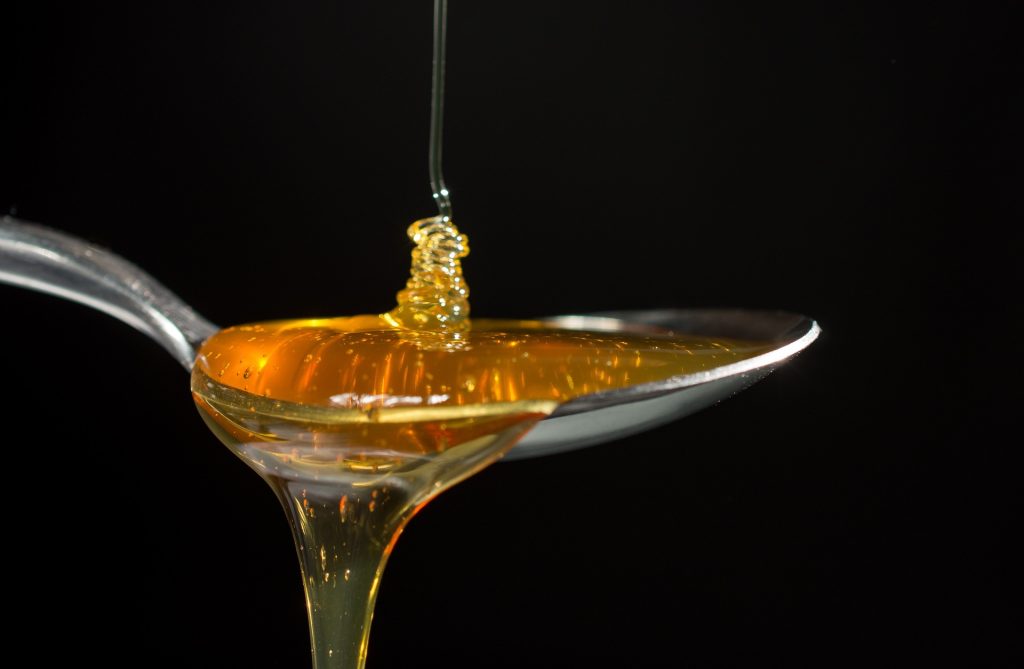
In photography, capturing the beauty of translucent liquids can add a unique and captivating touch to your images. From the flow of a stream to the splash of a droplet, translucent liquids bring movement and dynamic energy to a photo. Here’s how to create stunning translucent liquid photos:
- Find the right subject: Look for liquids with interesting shapes, patterns, and colors to make the most of their translucent properties. A subject with a good contrast of light and shadow will enhance the liquid’s translucent qualities.
- Use the right lighting: Lighting plays a crucial role in bringing out the translucency of liquids. Soft, diffused lighting works best to create an even, glowing effect. Experiment with different light sources and angles to find the best look for your photo.
- Slow your shutter speed: Slowing down your shutter speed allows more light into your camera, which will capture the movement and flow of the liquid. A slow shutter speed of 1/60th or 1/30th of a second is a good starting point.
- Use a tripod: To keep your camera steady while using a slow shutter speed, a tripod is essential. It will prevent any blur or camera shake that could spoil your photo.
- Experiment with different angles: Try taking your photos from different angles to see how the liquid’s translucency changes. Experiment with shooting from above, below, or at an angle to capture unique perspectives.
- Edit your photos: Final editing can enhance the translucency of your liquid photos. Adjust the brightness, contrast, and saturation to make the liquid pop and bring out its true beauty.
With these tips in mind, you’re ready to capture stunning translucent liquid photos. Happy shooting!